CLADDING INSTALLATION
CFP Woods Cladding is made of 100% natural, solid wood with unique characteristics. The product contains no chemicals, and is suitable for all weather conditions. Care must be taken to install and maintain it correctly to ensure you enjoy its beauty for many years to come.
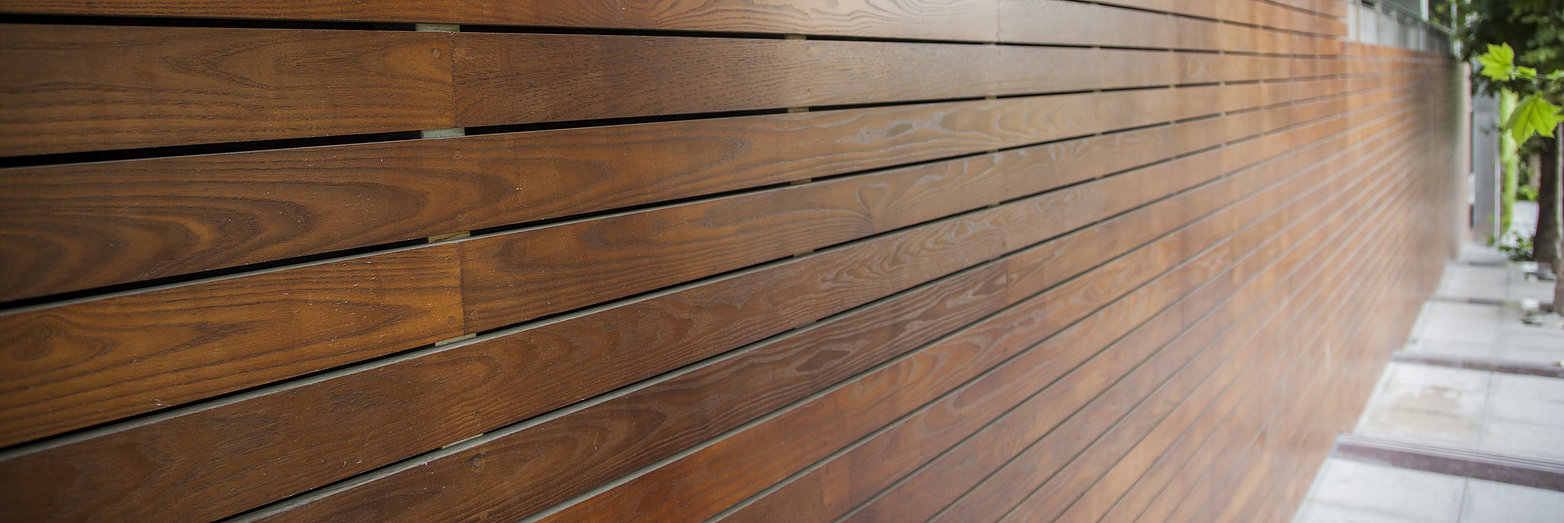
Provided the correct installation method is used CFP Woods thermally modified wood siding can last for many years. Its traditional tongue and groove profiles once installed adds an authentic quality and natural beauty to any new or renovation project.
HORIZONTAL OR VERTICAL PATTERNS
CFP Woods thermally modified wood tongue and groove siding can be installed horizontally or vertically. In horizontal application, start at the bottom and work up with the grove edges facing downwards to assure a weather-tight wall. Siding up to 6 in. wide can be blind nailed with one casing nail per bearing toe-nailed through the base of each tongue. Wider siding should be face nailed using two nails per bearing. Nails must penetrate 1-1/2 in. into solid wood.
In vertical application, start at one corner with grooved edge toward the adjacent wall. Use a level or plum line to ensure that the first board is installed vertically. The grooved edge of the first board may have to be trimmed to ensure a flush fit. Siding is nailed to horizontal blocking lines installed between studs or to furring strips. As with horizontal installation, pieces up to 6 in. can be blind nailed and wider pieces should be face nailed.
RAIN SCREEN INSTALLATION
CFP Woods thermally modified wood siding must be rain screened when installing. Rain screening often involves the use of wood furring strips attached to a layer of plywood sheathing covered with Tyvek Home Wrap which acts as a water and air barrier, but allows water vapor to pass through so as not to accumulate in the wall assembly. The rain screen gap helps to dry the sheathing, which may accumulate moisture during cold weather. It also helps to dry the siding when it is soaked by rain. Rain screening installations can vary from region to region depending on the local weather patterns. Its best to check your local building codes.
END MATCHED
CFP Woods thermally modified wood siding comes end matched from the factory which allows for a consistent random seam wall pattern when siding boards are put together end to end. End matching of siding boards allows for a quicker installation and consistent end gaping.
WHEN HAVING TO CUT
If cutting CFP Woods thermally modified wood siding boards a quality circular saw must be used. Installers commonly use a measuring square to ensure that each board is cut exactly square. Otherwise, uneven gaps will appear at the joints on the finished wall. Cut slowly to guard against splintered or jagged edges.
CUT ENDS
During installation some boards of the CFP Woods thermally modified wood siding will need to be cut. Before installing the cut siding board end sealer should be applied to the ends of the pieces that were cut. End sealer is designed to prevent end checking (drying splits) on freshly cut ends of wood exposing the end grain. There are several products in the marketplace but a popular selling item is called Ipe Seal from Deck-wise.
FASTENING
Stainless Steel nails should be utilized to fasten tongue and groove CFP Woods thermally modified wood siding. The use of a 2 inch 16 gauge stainless steel nail utilizing a power nail gun is a common method. Each piece of siding can be attached by blind-nailing through the tongue or under lap that will be covered by the course above or beside the next piece of siding. The area where you will blind-drive the fasteners is thin, so there is a danger of cracking the wood when you drive a nail. Preempt any splits by drilling pilot holes. The extra step is worth the effort: A cracked board is seriously compromised and may allow water to seep behind.
AVOID CUPPING
Never fasten CFP Woods thermally modified wood directly to any surface that would eliminate air flow from reaching the back of the board. Use of wood furring strips to create the necessary spacing is highly recommended.
COATINGS
CFP Woods makes no representation or warranty as to the performance or appearance of the applied coatings to any of its thermally modified wood products.
FURRING STRIPS
One of the most common ways to establish a gap between siding and sheathing is with vertical furring strips. In construction, furring strips are thin strips of wood or other material to level or raise surfaces of another material to prevent dampness, to make space for insulation, or to level and resurface ceilings or walls. Furring strips have normally already been attached to a layer of plywood or other surface at consistent spacing intervals running perpendicular to the direction the siding boards that are being placed. The furring strips are smooth and provide a solid nailing surface for the CFP Woods thermally modified wood siding to be attached to. Many builders use 1/4-inch wooden lath or rips of 1/4 inch plywood for their furring strips. Other builders use 1/4-inch-thick plastic drainage mats. These 1/4-inch gaps work well. However, some builders prefer more leeway for installation errors. They may be worried, for example, about bulges in the sheathing that may compromise the 1/4-inch gap. They’re more comfortable with a deeper gap perhaps 3/8 inch, or 1/2 inch, or 3/4 inch — because it allows for a few minor on-site problems or installation glitches. A 3/8 inch gap is more than enough for drainage, and is also enough to provide useful ventilation drying.
Note: The above are general installation methods used on tongue and grooved wood siding. We appreciate that slightly different installation methods may exist based on the local building codes, type of construction, local weather patterns and the installers own personal knowledge and best practices approach to installation.